
Scannit Setup: A Step-by-Step Guide to Getting Started
Scannit is a U.S.-based data platform where you earn $SCAN tokens by doing simple phone quests like scanning receipts or recording videos to provide data. This guide shows you how to download the app, set up your account, and get started.
Step 1: Download the Scannit App
Getting started is easy. Scannit works on iOS and Android, so it’s open to everyone. Go to the App Store for iOS (Get it on iOS) or Google Play for Android (Get it on Android), search "Scannit," or use the links provided. The app is free and ready to download.

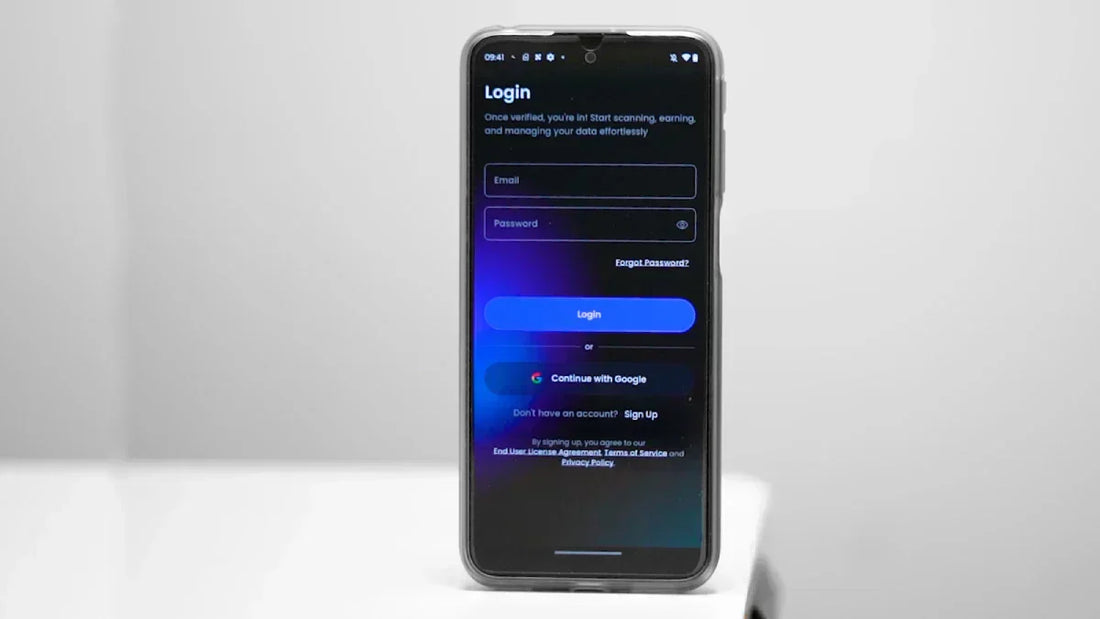
Step 2: Install and Launch the App
After downloading, install the app by following the on-screen steps. Open it to see a welcome screen explaining Scannit’s goal of paying for data. A quick sign up using an email is possible. Agree to the terms and pick a username for your account.
Step 3: Enter Referral Code Gives 2000 Points
During signup you are asked if you want to use a referral code. Using the referral code "nordic" grants you 2000 bonus points. These 2000 points you will get after performing 12 interactions within the Scannit app, such as performing quests or uploading receipts.

Step 4: Complete Initial Quest Setup
Once signed up, check the Questboard to start a quest, like scanning a receipt or taking a photo. The app gives tips to get the photo right and meet quality standards. The better quality data you provide, the more quests you might get. Watch the Scannit review video to see the setup process and tips for maximizing SCAN rewards.
Step 5: Explore and Engage
After setup, use the dashboard to track your quests, $SCAN earnings, and data use. Stay active to boost your confidence score, unlocking more quests. Scannit uses strong security, like encryption, to protect your data.
Scannit is still in its early stage, with under 5,000 users, which sets you up for rewards as Scannit grows with new features. Check the Scannit Hub to learn more.